Rewiring a lamp may sound like a task best left to an electrician, but with the right tools, patience, and safety steps, it’s easier than you think. Lamps that flicker, spark, or fail to turn on often just need new wiring, not a full replacement. Learning how to rewire lamps can save money, extend the life of your favorite fixtures, and give you confidence in basic electrical repair.
Whether your lamp is vintage, decorative, or a modern design, understanding how to rewire a lamp step by step ensures both safety and functionality. This process involves removing old wiring, replacing the cord and socket, and testing the lamp carefully before use. Let’s walk through each step in detail.
Why Rewiring a Lamp Is Important
Over time, electrical cords can fray, crack, or lose insulation—making your lamp unsafe to use. Old wiring is one of the most common causes of electrical shorts and minor household fires. By replacing worn-out parts, you restore safety and reliability to your lamp.
Rewiring also lets you preserve sentimental or high-quality pieces, especially vintage or antique lamps that can’t easily be replaced. With updated wiring, your lamp will meet modern electrical standards while maintaining its original beauty and charm.
Tools and Materials You’ll Need
Before starting, gather all the tools and supplies you’ll need for the rewiring process. Having everything ready makes the project smoother and safer.
Here’s what you’ll need:
- A lamp rewiring kit (includes new cord and socket)
- A screwdriver (flathead and Phillips)
- A wire cutter/stripper
- Electrical tape
- Pliers
- A voltage tester
- Optional: needle-nose pliers for tight areas
Ensure you work on a flat, dry surface and unplug the lamp before beginning. Safety should always come first when handling electrical parts.
Step 1: Unplug and Disassemble the Lamp
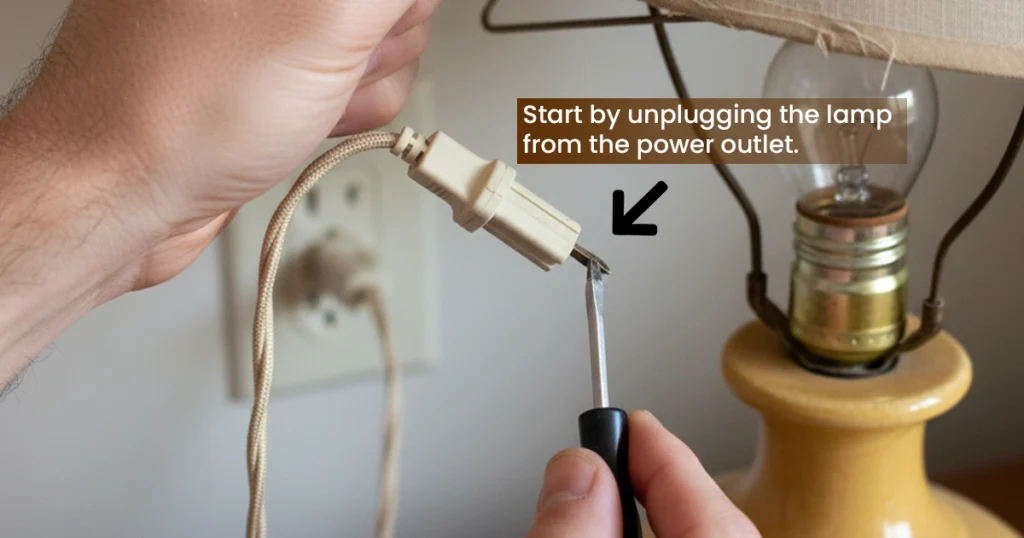
Start by unplugging the lamp from the power outlet. Never attempt to rewire a lamp while it’s connected to electricity. Once unplugged, remove the lampshade and bulb so you can access the socket area.
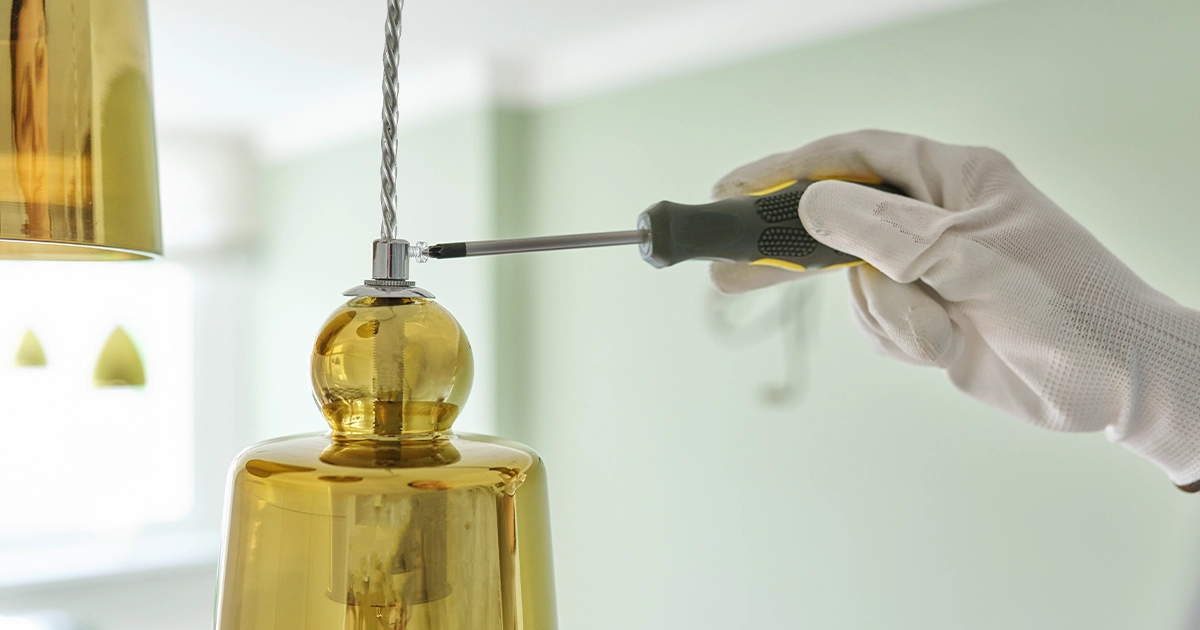
Use a screwdriver to gently loosen the socket shell (the metal or plastic part that holds the bulb). Most sockets have a small “press here” area you can squeeze to pull off the shell. Take your time to avoid breaking any decorative parts, especially with older lamps.
Step 2: Remove the Old Wiring
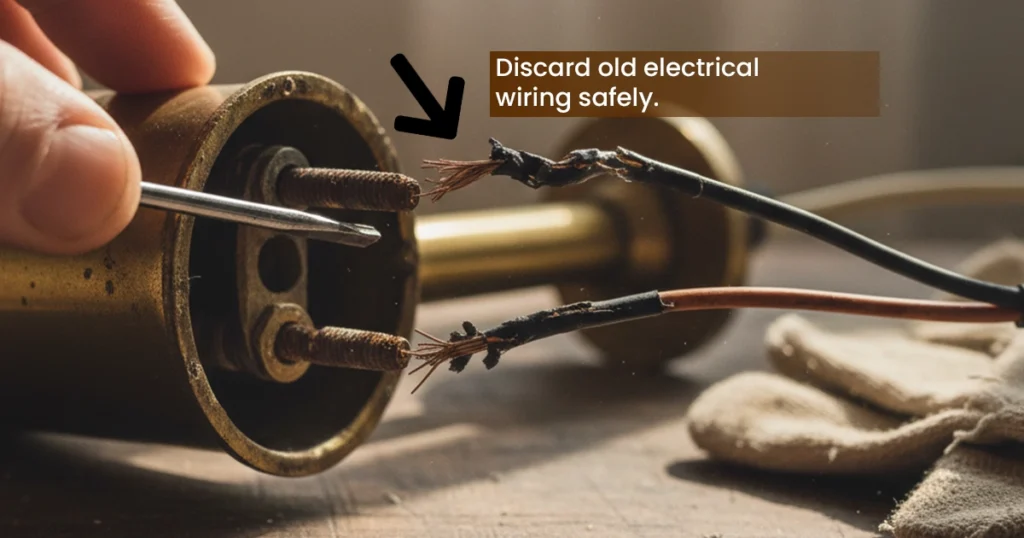
After removing the socket shell, you’ll see two wires connected to screws at the socket base. Unscrew them carefully and pull the old cord through the lamp body. Some lamps may have rods or tubes that the wire runs through; feed the cord out slowly to avoid bending or damaging them.
Inspect the old cord for signs of damage or burn marks. If the cord looks frayed, cracked, or stiff, it’s a clear sign that it needs replacement. Always discard old electrical wiring safely.
Step 3: Prepare and Install the New Cord
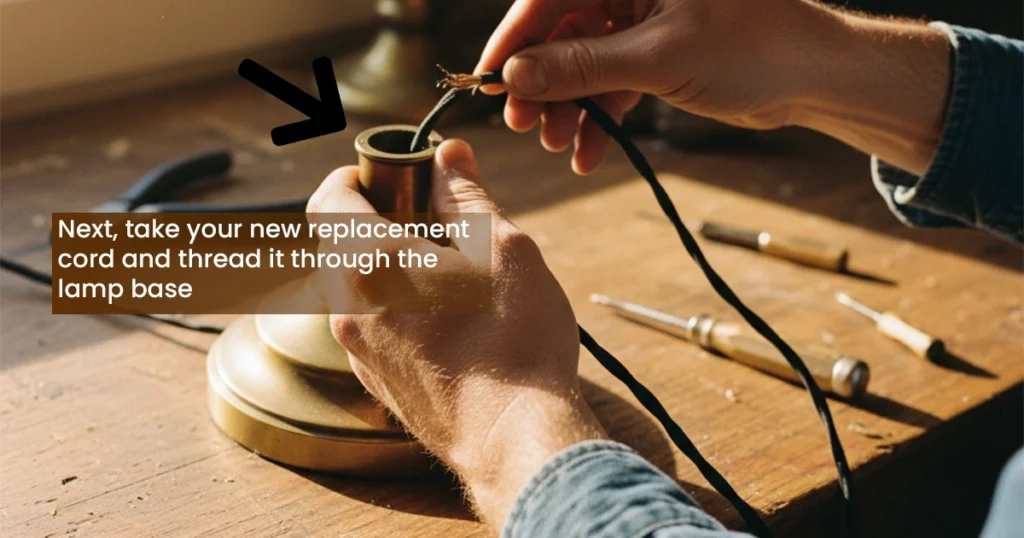
Next, take your new replacement cord and thread it through the lamp base in the same path as the old one. Make sure there are no twists or kinks as you feed it through.
Once the cord reaches the top, strip about half an inch of insulation off each wire using a wire stripper. This exposes the copper ends that will connect to the socket screws. Most lamp cords are polarized, meaning one side has a smooth surface and the other has ridges. This helps identify which wire connects to which screw.
Step 4: Connect the Wires to the Socket
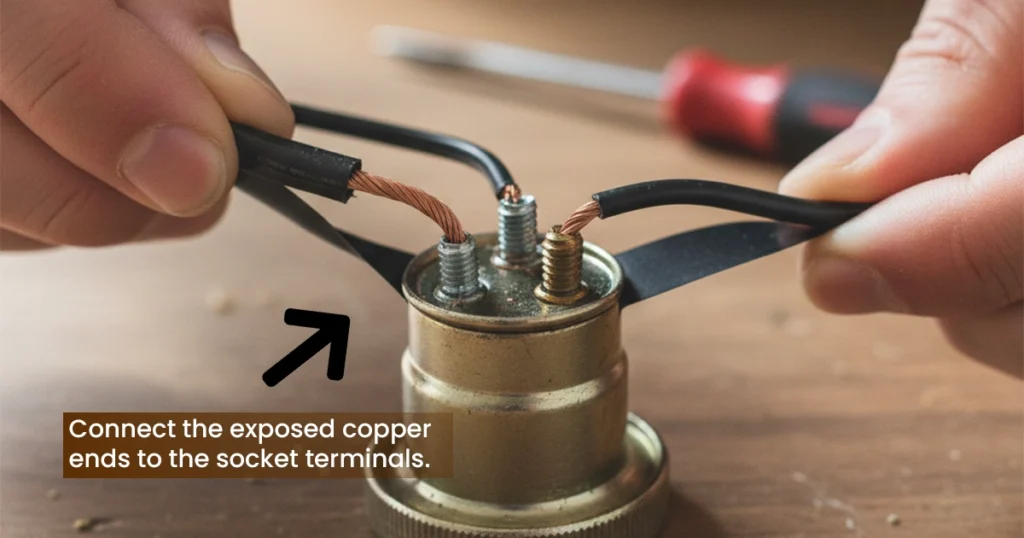
Now, connect the exposed copper ends to the socket terminals. The ribbed wire connects to the neutral (silver) screw, while the smooth wire attaches to the hot (brass) screw. Wrap each wire clockwise around its screw and tighten it securely.
After tightening, double-check that no loose strands of wire are sticking out. Cover the connection with a small piece of electrical tape for added protection. Then slide the socket shell back over the base until it clicks securely into place.
Step 5: Reassemble the Lamp
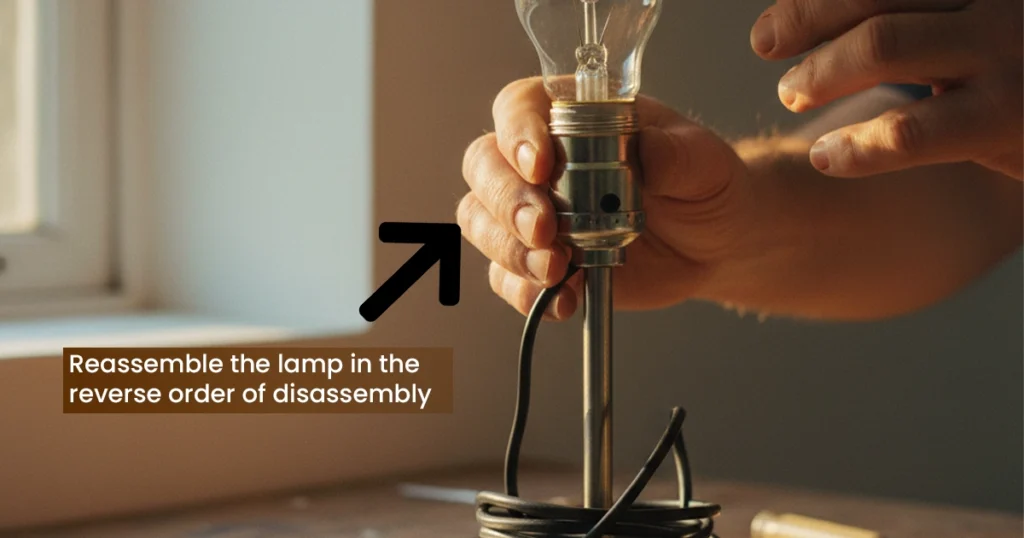
Once your wiring is connected and secured, reassemble the lamp in the reverse order of disassembly. Pull the excess cord gently from the bottom to remove slack, making sure the wire sits neatly inside the lamp base.
Replace the lampshade and light bulb. Before testing, visually inspect the lamp to ensure all parts are tight, the cord is straight, and there are no exposed wires. If your lamp base uses screws or clips, tighten them so the structure feels stable.
Step 6: Test the Lamp Safely
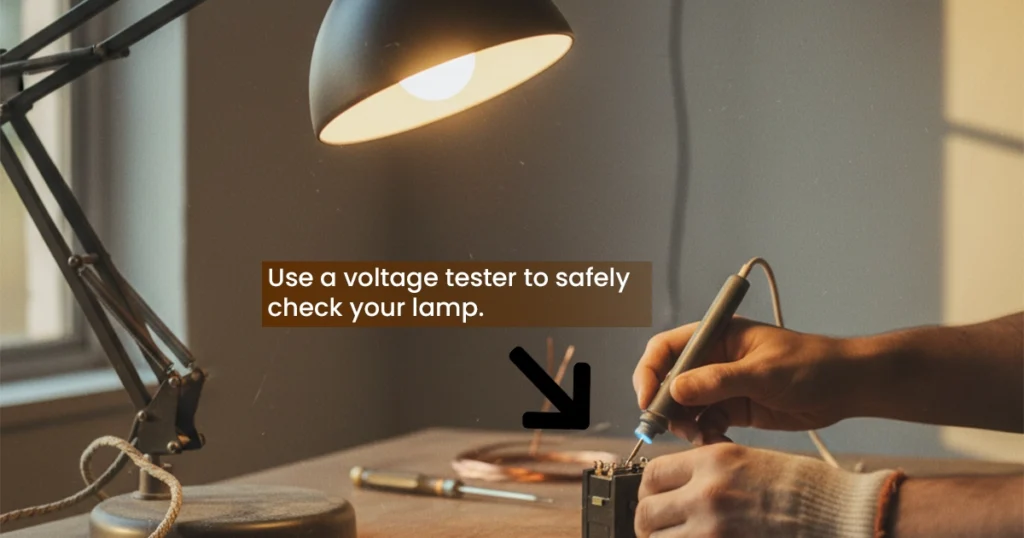
Plug in your lamp and turn it on to test. If it lights up properly and doesn’t flicker, the wiring job was a success. If it doesn’t turn on, unplug it and recheck all connections, especially at the socket terminals.
Always use a voltage tester if you’re unsure whether the socket is receiving current. Never attempt to adjust the wires while the lamp is plugged in. If you notice sparks or burning smells, disconnect it immediately and review your connections or consult a professional.
Safety Tips When Rewiring a Lamp
Even though rewiring is a beginner-friendly DIY project, safety should never be overlooked. Always unplug the lamp before handling any wires, and use insulated tools when possible. Avoid using cords that are too thin or incompatible with your socket type.
If your lamp has metal parts, make sure the new cord includes a grounding wire for added safety. Lastly, don’t overload your lamp with high-wattage bulbs; stick to the recommended wattage listed on the socket or label.
Illuminate Your Home with Affordable Furniture 610
At Affordable Furniture 610, we offer a curated selection of furniture and lighting to transform every room in your home. From modern bedroom sets to elegant dining furniture, our pieces combine durability, comfort, and timeless design. Whether you’re redecorating your living space or simply adding a new statement piece, our affordable collections help you achieve your dream home style without breaking the budget.
Visit Affordable Furniture 610 today to explore our stunning furniture and lighting options designed to complement every taste and lifestyle.